How to apply art resin effectively
Using art resin as a material for your project requires a bit of insight and knowledge to get started appropriately. For example, you’ll need to understand the kind of environment or process that this mixture works best in, and how to apply it in the first place.
To help you get started, we're running through the easiest ways to use art resin when you're looking to try your hand at this technique. From jewellery making to other versatile applications – it's a crowd-favourite in the art world but does need a bit of TLC to come out the right way.
So here’s what you need to know.
How much resin do I need?
This will ultimately depend on your project and the specific brand of resin you’re using. A coverage calculator can help you determine exactly how much you’ll need within the mixture, and we always recommend reading the instructions on your products before experimenting with part of it.
Additionally, we recommend mixing more than you think you will need – it’s better to completely cover your project rather than come up short and unable to make up the area.
Steps to applying your mixture
There are just a few steps you need to the following when working with this material, but you need to do so quickly. As it is finicky in nature, it can tend to be a bit messy, but practice makes perfect.
- Measure: As we said above, make sure you’ve thoroughly read the instructions on your project or tutorial, in order to mix exactly how much you’ll need (and a bit extra) for your piece.
- Mix: When mixing it all up, stir it well for around three minutes. Make sure you scrape the bottom and sides of your bowl or contained to get any unmixed ingredients well combined. Any bits that are left sticky won’t cure, so it’s crucial not to skip this step. You typically have 45 minutes to work with the resin before it thickens and starts to cure.
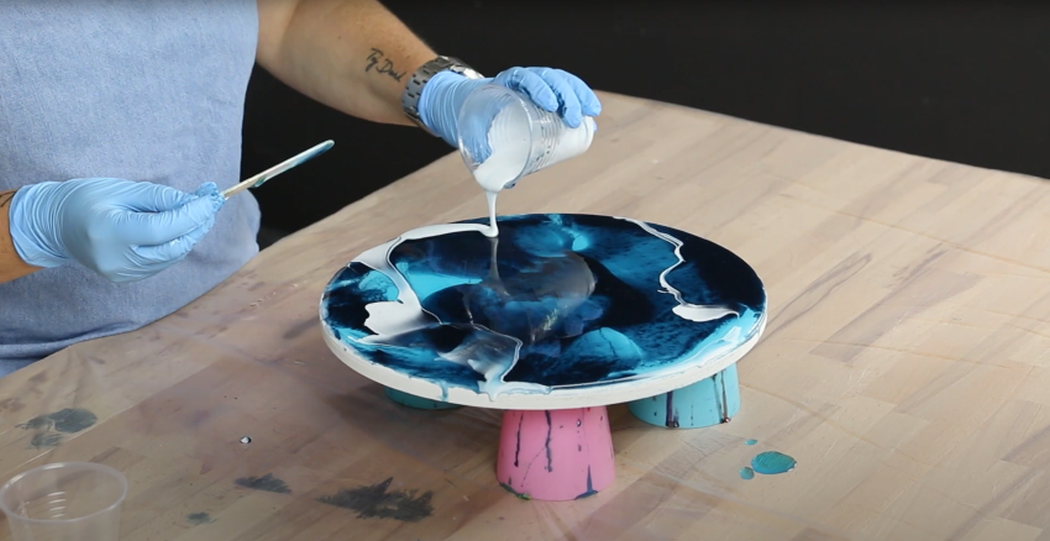
- Pour: Carefully pour the mixture into your work or reservoir. If it doesn’t look like it will level out, don’t stress – it will. You can also manually spread it out yourself if you’re worried. Use a brush and run over the edges and to carefully tidy the whole piece up.
- Be patient: Wait 24 hours for the resin to completely cure. It needs to be positioned in a dust-free environment to come up with the best result. Additionally, after 8 hours, you'll notice it becomes tacky – pour on a second coat if you need to, during this time. After 12 hours, it'll be dry, and within 24, it'll be 95 per cent set.
If you don’t have the basics down, you’ll find the final result doesn’t come out how you expected in the first place. We always encourage you to experiment but make sure you have the essentials on hand – and knowledge in mind – before you really dabble in the art.
Shop for all the must-have basics you need to get started with art resin here.
