Common Mistakes for Resin Art Beginners
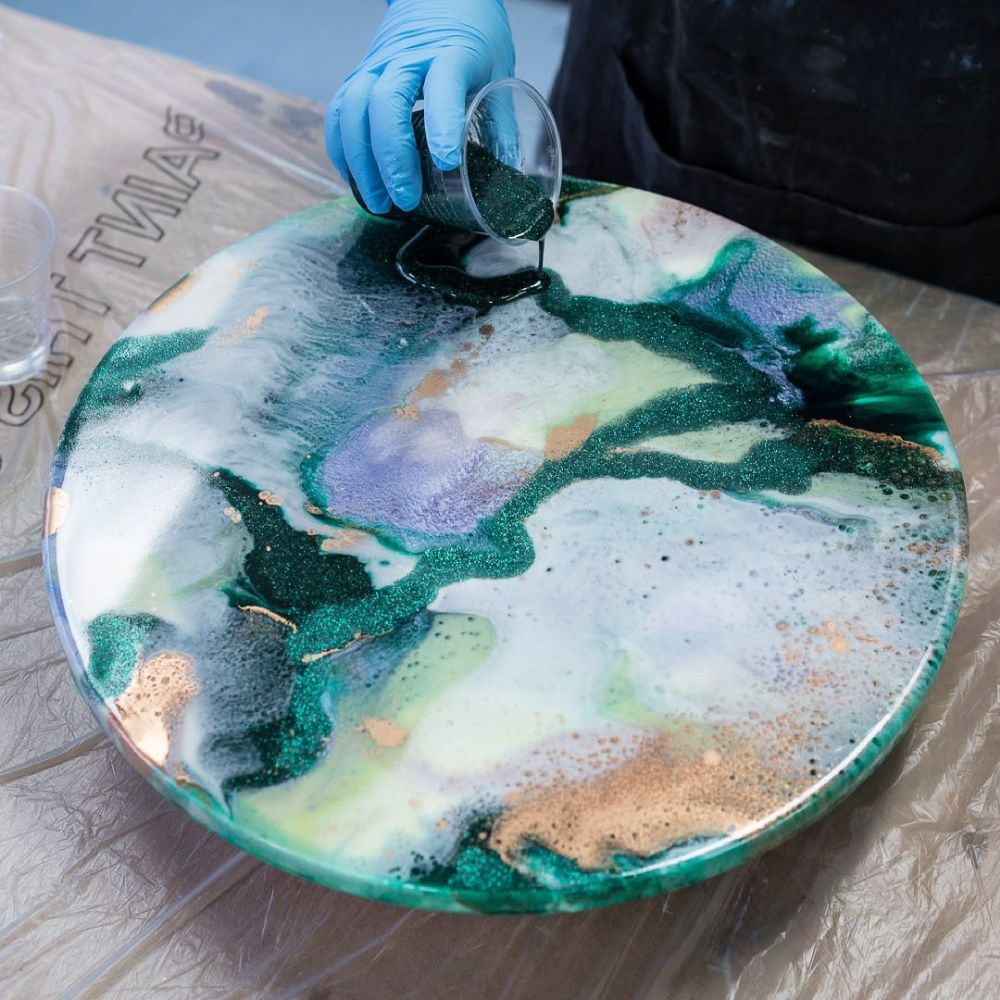
At one time or another, we’ve all been beginners in the world of colourful, abstract resin art. While the best part about this medium is that you can virtually do anything with it, there are still some considerations to keep in mind to ensure the best possible results.
When you're getting started, you're bound to make mistakes; we all do, especially in the excitement of creating those first pieces. There's more to it than mixing and pouring, though, and an imperfect cure can be prevented when you follow the proper steps. To help you out, we've listed some of these common issues you may face and how you can avoid them.
Become a Resin Art Pro With These Tips
- Follow Instructions & Measure Accurately
There is a reason why resin art products come with instructions and should be read thoroughly before opening any containers. Following the directions will tell you how you should measure, how long you should cure for, and the mixture's ratios.
When you begin combining different types of epoxy and pigments, throwing a spoon full of this and that together, you're likely to end up with a runny, tacky or soft texture – which isn't ideal for pouring.
- Working on the Wrong Surface
Depending on the item you are creating, you may have trouble layering it correctly if the surface you're working on is not even. It's essential to choose a flat space to avoid having the liquid run in all the directions you don't want it to.
- Wrong Temperature
When using this material, it should be slightly warmer than room temperature for a perfect cure. It will be thick, hard to work with and cloudy in appearance if it's too cold. Wherever you're creating, the room should be warm and dry and remain stable for the first 24 hours when curing your piece.
- Resin Sitting Too Long After Mixing
Your pour should happen as soon after preparation as possible. If it sits for too long, it will begin curing before you have used it. Ensuring everything is prepped before you dive in will help you evade this issue as you will be ready to go.
- Air Bubbles Everywhere
As you're going through the steps of mixing and pouring, bubbles will form and will set that way if not managed correctly. Using a flame torch is the best source for removing these to get a clear finish. Additionally, ensuring your mixture isn't too thick will also help avoid bubbling.
- Dusty Finish
It can be heart breaking when you check your piece of art the next day, and the dust has cured into it. Luckily, there are ways you can avoid this hassle, including:
- Wiping down your workstation and any overhead lights before you start.
- Spray the air with water to remove any dust particles.
- Have a box or container ready to cover the piece as soon as you're finished.
If you're a beginner, don't be disheartened by mistakes because mastering this technique – like anything – takes time. However, with these basic ideas to get through, you have a headstart on your skills and more insight into best practices.
Need essentials to get started with your crafty adventure? Browse our range for everything you need to complete your next project.
